As an Amazon Associate I earn from qualifying purchases. This doesn't cost you anything, and I only recommend products that I totally love!
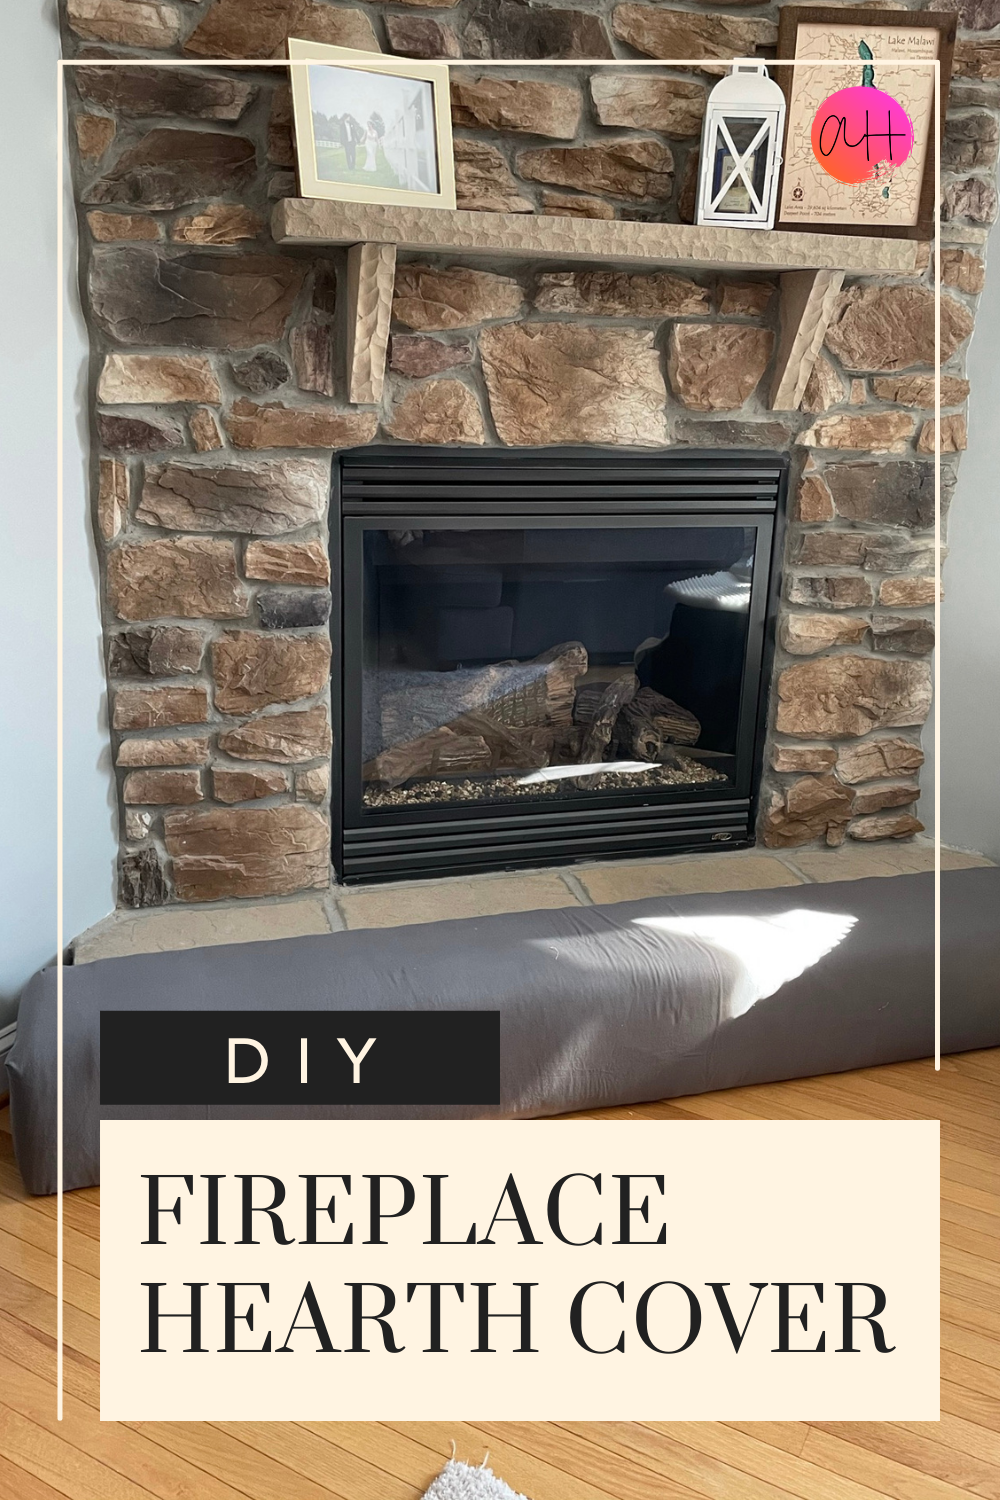
Anyone else out there with a stone step for a hearth in their fireplace? If you’ve got really little kiddos, (or even if you’re super clumsy!) chances are we have had the same thought: How do I make this safe enough for my toddler without making the entire room look like it was designed to revolve around my toddler? I love my kid , but I have no interest in letting her dictate the décor scheme of my entire house. Safety is important though, so I knew I couldn’t leave this stone step fireplace hearth the way it was. Enter: a fireplace bench.

This was a pretty easy DIY once I had a plan. There’s a bunch of ways to build the frame underneath, but I’ll quickly walk through the steps. If you’re mainly here for DIY inspiration, I’ve tried to include lots of pictures. I love when blogs spoil me with lots of photos, so you’re welcome 🙂 BTW, if you want more inspiration, check out the other DIYs in that room. I also Ikea-hacked our TV console and built that coffee table too!
A little background…
The fireplace hearth isn’t just a straight step up – it has a little lip that overhangs the stone underneath. More dimension and detail, but more complex. The fireplace is also installed at an angle in the corner of the room. This makes the area that the step meets the wall less than a 90 degree angle. Given those details, I opted not to bring the bench all the way up to the indulge of the fireplace glass. Also, that just seems like a fire hazard…
The fireplace bench is built to sit right on top of the stone. This made it way easier for me because I didn’t need to worry about any of the wood or joints being “weight-bearing” since all the weight would be on the stone underneath the frame.
Making the fireplace bench

I started by roughing out the top frame the length and width I needed. I then built a corresponding front “apron” the same length and width, connected them by end pieces. Side note, I was using all scrap wood that I had left over from other projects. Every so often I installed vertical supports to connect and support the horizontal full-length boards. My kreg pocket hole jig came in VERY handy during this project.

Cover the bench
Once the frame was built, I used some egg crate foam to pad the corners, and then covered the length of the bench. I used a staple gun to secure it in place. On top of that I laid quilt batting and also stapled that down. The egg crate foam was awesome for padding the edges and being the “safety” portion of the bench. (Really the whole reason for building the thing in the first place.) The quilt batting kind of smooths it all and makes it look nicer once the fabric is laid over it.


The last step was to lay fabric over it and staple it down also. I used a gray flannel because gray matched well with our decor and flannel is pretty durable, but not interesting enough to draw a kid’s attention unnecessarily. Pull it taut to keep it from looking wrinkly. (I also ironed my fabric before stapling it down.) I folded it neatly on the sides and trimmed any excess fabric on the inside/underside of the bench so that there were no bulky clumps of material making the bench not sit flush on the fireplace.

There you have it! It was pretty simple – I could have done this in an afternoon if I didn’t have a toddler to take care of. Then again, if I didn’t have a toddler to take care of, I wouldn’t need this fireplace bench in the first place! Hopefully this helps someone make their fireplace a little safer for kiddos! I try to keep D off of it, but she still goes for it once and a while. Knowing there are no rock hard edges to accidentally bump into while playing gives me huge peace of mind though.
Happy DIY-ing!
Amazon and the Amazon logo are trademarks of Amazon.com, Inc, or its affiliates.


