As an Amazon Associate I earn from qualifying purchases. This doesn't cost you anything, and I only recommend products that I totally love!
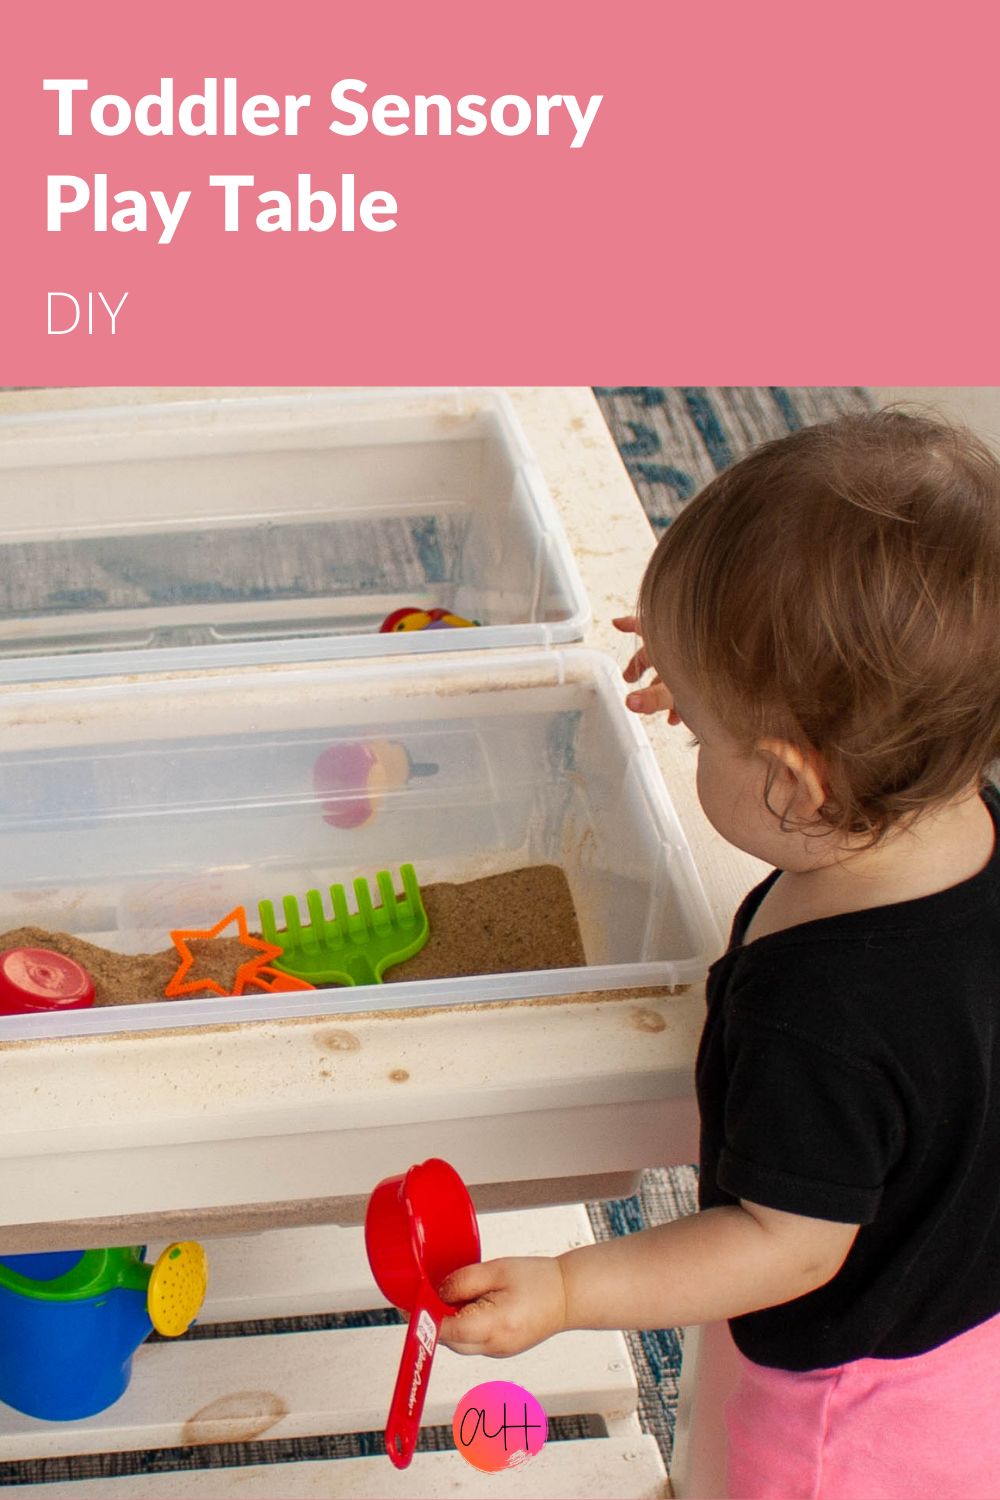
Well, this is better late than never! We’ve been busy enjoying this sensory table all summer. So busy, in fact, that I haven’t managed to write a post about it! This sensory table has been so fun for our 1 year old. I keep it on our covered porch and she can play rain or shine.

What is so great about this sensory table is that the tubs are removable, for easy cleaning. It is also really nice that the tubs have lids. This helps keep the bugs out when we aren’t playing. I also use the lids to control the mess. I often just open one tub at a time so that the sand and water don’t mix in such a way that my daughter is impossible to clean up without an entire bath and change of clothes.
This sensory table is built in a very similar way to the icebox coffee table. This was a much simpler project though, because I wasn’t trying to make things fit and work with the width of the pallet wood. In the same way though, I pretty much made it up as I went. And the best part? I made it completely out of scrap wood that I had left over from other projects, so my only expense was the two tubs. I’ll do my best to explain the process clearly and concisely.

Materials I used:
Wood for the surface – I used 1x3s and 1x2s that I already had at home
Wood for the frame – I used 2x2s and 1x3s that I already had at home
Wood for the lower shelf – I used random stuff but it was mostly 2x3s
exterior screws
exterior pocket screws
Wood glue – I used Gorilla Glue
Wood Filler – I used this
2 plastic bins with lids – I used these
Tools I used:
Kreg K4MS Jig
Kreg Right Angle Clamp
Clamps
Random orbit sander – I used this
Sand paper – I used these
Drill and drill bits – I used this
Miter saw – I used this
Equipment:
Safety Goggles
Respirator mask – like this
Pencil
Tape measure
Carpenter square
Instructions
1 – Start by building the top frame of the table, that the boxes will slide through and sit on. I used 1”x3”s for the outer frame and a 1”x2” piece for the center support between the two tubs. Depending on the size bins you have, the cut lengths will be different. I used wood glue and then pocket hole screws to hold it all together without any hardware visible.

2- Build the base. Basically this was a matter of connecting 4 legs (2”x2”s) to 1”x3”s that serve as the apron. I made the distance between the legs slightly shorter than the width of the table top frame, so that there was a bit of an overhang on all sides. I used wood glue and then pocket hole screws on the insides of the base to connect the legs to the apron pieces, and also prepped pocket holes on the inside of the base to secure it to the top.


3- Attach the top to the frame. I used pocket hole screws in the legs and a couple spots along the 4 inside sides of the apron to secure the top to the base. I used wood glue as well, to make it sturdier.

4- Using decking screws (for durability) attach two strips of wood at equal heights low down between the legs on the two legs on the longer sides of the table. Cut and attach slats across the supports, to form the lower shelf. Pilot holes help keep the wood from splitting. This was vital for me, since I was using really old scrap wood that was very dry. I chose to leave room between each slat so that water and debris could fall between the slats, onto the ground, rather than accumulate on the shelf.

If you want to be, YOU’RE DONE! If you want your sensory table to be a little more finished, then I recommend a few more steps.
5- Fill in all the pocket holes (optional, but I always fill in holes on stuff that lives outside, to deter bees/wasps/critters from trying to live in the small spaces) with precut plugs or wood putty. Use wood putty to fill in any other cracks that you don’t want to see in the finished table.
6- Sand. Since this is for toddlers, I especially focused on rounding down the corners of the table so they weren’t so sharp. There will inevitably be bumps and boo-boos but rounded edges make it a little safer.

7- Finish the wood somehow – stain/seal or paint it. I used some really old exterior latex paint left over by the previous homeowners. The wood was really thirsty and now I can see knots in the wood showing through the paint, but a toddler won’t care about that. I just wanted to have something on the wood to protect it from the elements and abuse of toddlers.
There you have it! Your very own toddler sensory table! And if you made it out of scrap wood, give yourself an extra pat on the back for using up some of those scraps! I’m sure your kiddos will love playing in it as much as mine does!
Amazon and the Amazon logo are trademarks of Amazon.com, Inc, or its affiliates.