As an Amazon Associate I earn from qualifying purchases. This doesn't cost you anything, and I only recommend products that I totally love!
You know that feeling when you have new “toy” or hobby and you can’t stop looking for ways to keep using that new thing? That’s how I’ve felt lately about building things. There is something really exciting about building something from scratch – starting with raw materials and turning it all into exactly the thing you wanted. Its even more fun when the project winds up costing you a fraction of what you would pay for at the store. That is why I am so excited about this DIY 2×4’s bench I made with my sister!

Recently my younger sister moved out of our parents’ house, where she’d been living since graduating from college, and into her first big-girl apartment. (You know – with decent, maybe even new, furniture and art in frames and hung on the wall, rather than just taped up.) She told me about their long hallway that is the entrance to the apartment. She wanted to put a bench or a shelf near the door, so that there was a place to catch shoes, bags, and other stuff that always piles up at the front door.

After some discussion, she decided on a bench, and asked me to help her make it. We had a fun day building it together! Now I’m trying to figure out a place in our house that a bench just like it could go, because I really loved how it came out!
Building the Bench
We used Ana White’s 2×4’s Truss Style Farm Bench plans to build the bench. The only modification we made was to shorten the length by about 8 inches so that it would fit more proportionally in her hallway. My sister started by sanding all the wood for the bench. It is so much easier to do the major sanding first, and then just touch up at the end. I hate trying to sand all the corners and angles afterwards. (I learned that lesson the hard way when I was building my porch furniture).

After she was done sanding the 2×4’s, we started building the bench. It took us about 1.5-2 hours to cut and assemble the whole thing. We mostly used my kreg jig to attach the legs to the frame and then attached the long boards for the seat last. We took a minute to sit down and admire our handiwork once we finished!

Finishing Up
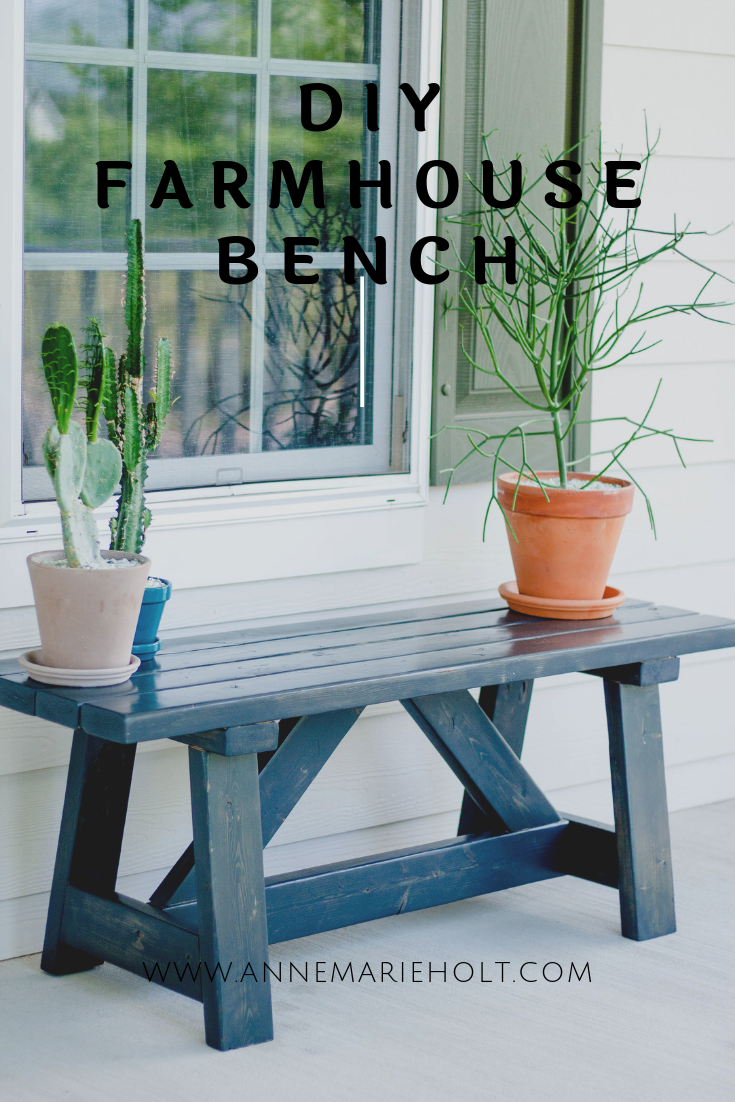
After the bench was completely built, I touched up the last bits that needed to be sanded and then cleaned it up. My sister chose this gray stain for the finish and it came out even better than we were expecting. Once the stain dried, I sealed it with three coats of polyurethane in clear semi-gloss and that was it! Before the bench went to my sister’s place, I took the liberty of photographing it for you all!

Where would you put this bench in your house? I’m thinking this would be great in the guest room. It could double as a luggage stand… Then again, it looks pretty good on my porch too! What do you think?
Amazon and the Amazon logo are trademarks of Amazon.com, Inc, or its affiliates.