As an Amazon Associate I earn from qualifying purchases. This doesn't cost you anything, and I only recommend products that I totally love!
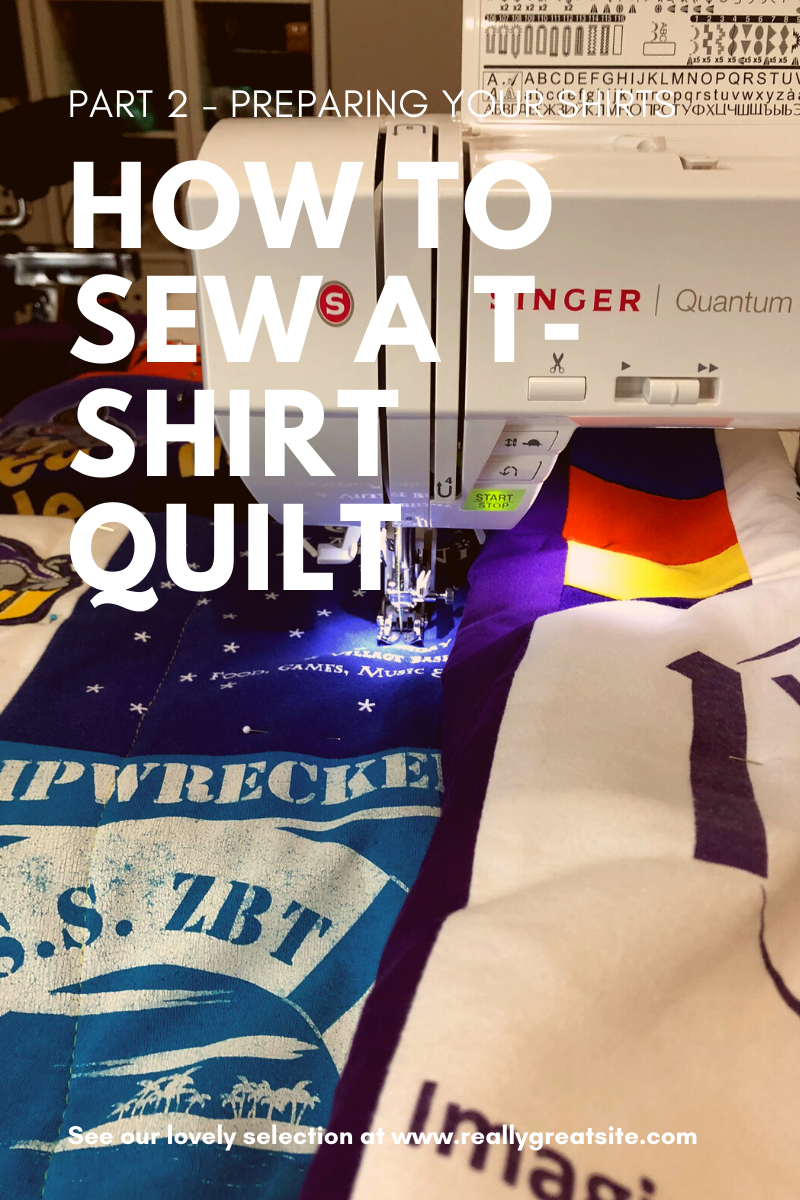
Part 2: Preparing Your Shirts
Welcome back! If you’re joining me for the first time, we are working on sewing a t-shirt quilt. Be sure to check out my last post, about planning and gathering your shirts. There are some important things to keep in mind. Last time we talked, we left off after you had a basic layout planned (and photographed so you’d remember). Today we will talk about preparing your t-shirts to sew with.
One of the things that makes t-shirts so comfy is that they have some stretch and give. While that’s great for wearing, it’s not so great for sewing. You need the fabric to stay still when you work with it, otherwise lines won’t line up and you’ll get a pretty wonky looking quilt. Maybe that’s your thing, but it also makes it pretty hard to work with when you’re sewing. In order to stabilize your t-shirts, you’ll need to fuse them with interfacing so that the fabric doesn’t shift around.
I really like this type of interfacing. I’ve used it on my last two quilts and it does a great job stabilizing without adding too much bulk. It also holds up well in the wash, the few times I’ve washed them. For a queen or king size quilt I need three or four packs.
Step 1: Gather your materials
At the least, you’ll need solid quality fabric scissors , your t-shirts, and interfacing. The interfacing keeps the stretchy jersey fabric that t-shirts are made of from stretching, which is very tricky to sew. You’ll also most likely need an ironing board, an iron, and damp tea towel, depending on what your directions say. I just keep a bowl of water with me while ironing so that I don’t have to keep going back to the sink.
Step 2: Prepare your t-shirts

Cut your t-shirts so that you just have the side with the design you are trying to save. If you’re going to use designs from the front and the back of the shirt, obviously save both sides. Cut in a way that leaves as much room as possible for you to work with. It is better to have to cut them smaller later than to wind up with pieces that are too small.
I always wind up with a huge pile of scrap fabric. I use the scraps for adding pieces to the quilt at the end if I need a spacer somewhere. I also use the scraps for cleaning rags and to stain wood furniture I make (such as this coffee table). Iven to stuff strips into this dog toy. (Our dog LOVES ripping the stuffing out of his toys, so this gives him a fun activity without him destroying a soft toy.) One day I think it would be fun to make a rag rug like this, but I haven’t done it yet.

Step 3: Apply the interfacing to your t-shirts
Follow the directions your interfacing provides to apply it to your shirts. Make sure to give yourself at least an extra inch or two bigger than the design you want showing around the whole design, to account for seams. Make sure the interfacing is well adhered. It can be easy to miss a spot as you iron. It is worth the time to go back and make sure the whole piece is well stuck to the interfacing so that so that the fabric doesn’t shift or bubble when you quilt it at the end. This usually takes me 3-4 nights while watching TV. It is a pretty boring but very important step!
Step 4 (optional): Lay out your flat shirt designs
Once interfacing is on your shirts and they’re cut closer to the size you want, it’s fun to go back and play with your layout/design again. You can see what (if anything) you want or need to change.
Now that your shirts are prepared, the next part is sewing them together! That will be the next post so be sure to check it out!
Amazon and the Amazon logo are trademarks of Amazon.com, Inc, or its affiliates.


One thought on “How To Sew a T-Shirt Quilt”
Comments are closed.