As an Amazon Associate I earn from qualifying purchases. This doesn't cost you anything, and I only recommend products that I totally love!
Quilting Your T-Shirt Quilt
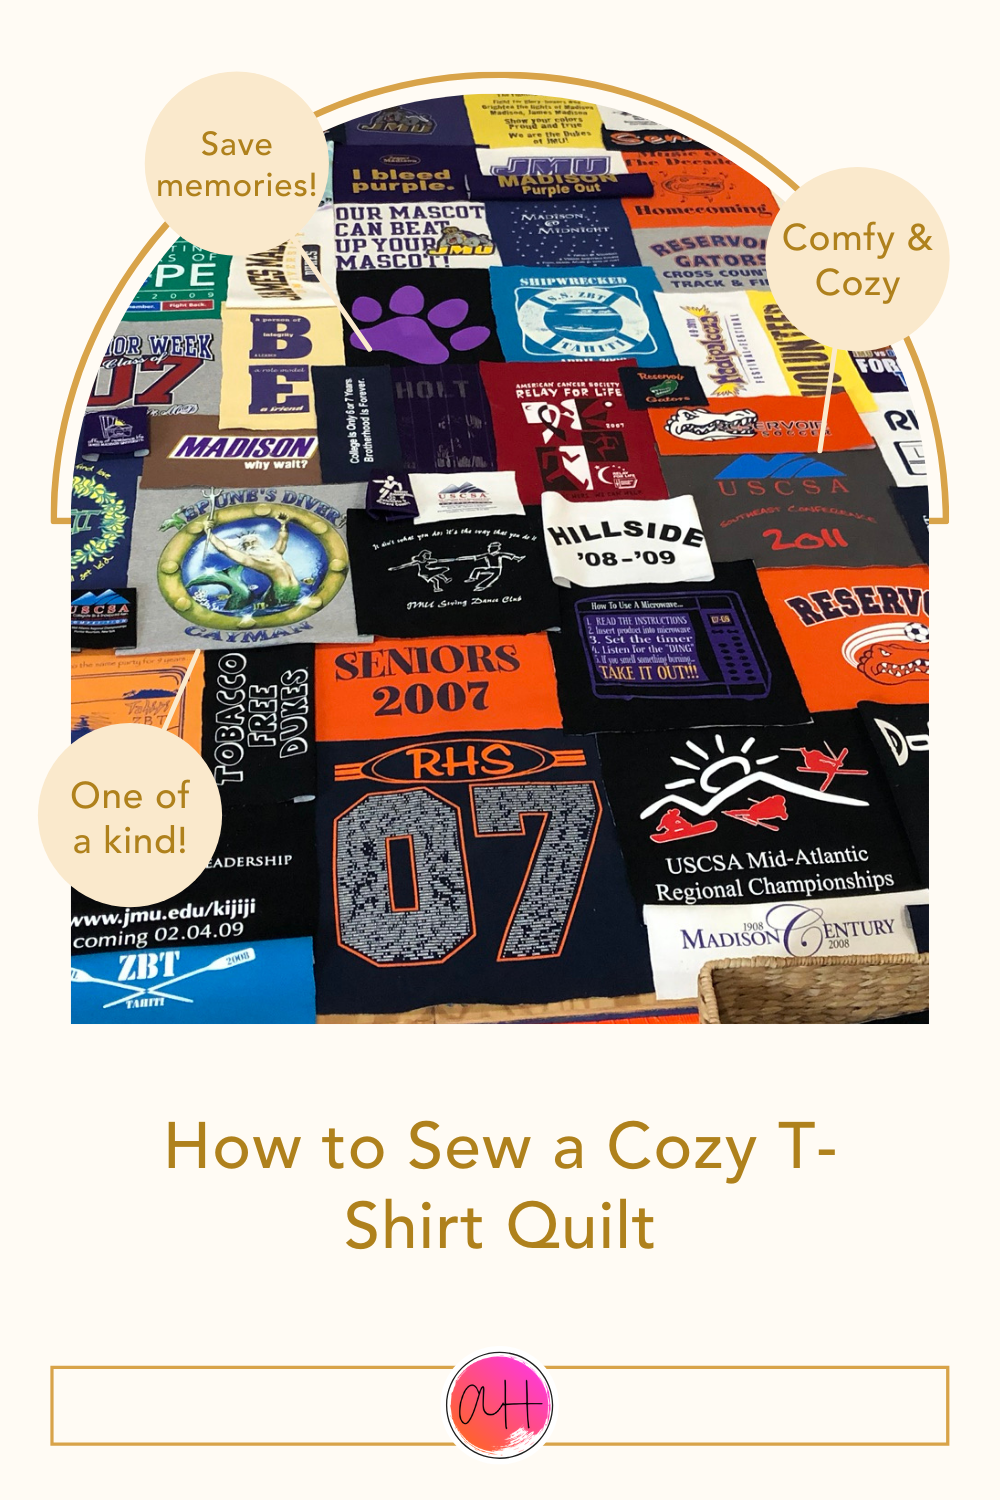
Hello! Today we’re talking about building and quilting your t-shirt quilt. My last post was about making your t-shirt design, so this is all about how to connect your layers to make it warm, cozy, and durable. Depending on your method, this step could take you a few hours, or multiple days. It will all depend on how to secure your layers together.
There are a few ways to secure your layers, like I mentioned in my last post. You can simply hand stitch some small x shapes every 8-10 inches, at seams, particularly where more than two shirts join. You can machine stitch long lines down the length and across the width of your quilt, at relatively even intervals. Lastly, you can do a more complicated quilting method, such as free-motion quilting. If you’re interested in that, check out more information here. Or, you can send out your quilt to be finished by a long-arm service.


Before we go any farther, I need to tell you: I am not a fantastic quilter. I’ve made quilts. They stay together. They even look decent. But let’s be clear – they are not winning any awards. Therefore, I am not going to be writing specific directions on how to do the actual quilting. I’ve told you about the options, but I don’t want to go down the road of teaching you to quilt. This series is just about constructing a t-shirt quilt, not the nitty gritty quilting techniques. With that out of the way, let’s get started.
Materials/tools you’ll need:
Sewing machine – I use a SINGER Quantum Stylist 9960 and it has been very good to me
Thread – coordinating thread colors since this stitching will be visible on your top and bottom layers
Scissors – good quality fabric scissors help tremendously
Sewing Pins – for holding your shirts in place as you sew them together
Seam Ripper – trust me, at some point in this project you’ll have a seam that needs to be torn out and redone
Quilting Pins – this are curved safety pins that are pretty sturdy. They are good for reaching through layers of fabric, and then secure so that you don’t stab yourself on the sharp side while you work. I’ve always used pins, but some people use spray basting instead. Up to you.
Quilt Batting – I’ve used other types in the past but this type is the easiest I’ve worked with. Just decide how thick/warm you want the finished quilt to be, then purchase batting appropriately.
Quilting Gloves – not totally necessary but very helpful for gripping the fabric as you move it through the machine. I also use clean gardening gloves.
Fabric for the back of your quilt – You can get yardage and sew it together to make a piece big enough to cover the backside of the quilt, or even a flat bedsheet. Up to you. I’ve done both. No one really looks at the back too closely…
T-shirt top – sewn together and ready to continue
Directions
Step 1 – Prepare your layers
Follow the directions with your batting – some need to be prewashed and dried. Iron your backing fabric.
Step 2 – Built your sandwich

You will need a big enough surface to lay it all totally flat so you can avoid puckering or creases causing fabric to bunch. Lay you backing fabric down first, right side (the side you want to show) out, face down. The wrong side should be facing up, at you. Then lay your batting on top, smoothing it down as best you can, the smoother the better. Finally, spread your t-shirt top down on top of the batting. Smooth it all down. You’ll want at least 3-5 extra inches of backing and batting showing all the way around the area of your top. This is because as you quilt it together, the fabric shifts and moves. The excess will be trimmed later.
Step 3 – Secure your layers

Using either your pins or spray basting, secure your layers together so that it all is connected and stays put when you move it to your machine and are sewing. I like to do this on a carpet so that my pins don’t scratch our wood floors. I tend to put a few pins in the middle and each corner, then around the edges and then branch through the rest of the quilt after the corners, center, and border is pinned. Try to keep the pins about 6 inches apart – in my opinion, more pins is better because it holds the fabric in place better.
Step 4 – Quilt
The moment you’ve been waiting for! Quilting the way you’d like. As I’ve already explained, I won’t give too much instruction here. Here are some tips I’ve learned through experience. Quilting gloves help. Have a lot of free space to the left and behind your machine, to help support the weight of the fabric. Sitting up tall, relaxing your shoulders, will help avoid some muscle fatigue. If you can sit above your machine, so that your arms are at a right angle as you sew, that is a better position than needing to raise/lift your arms to hold the fabric. You’ll get more cramping and muscle soreness that way. Take lots of breaks. Finally, pay attention to where your excess backing fabric is, so that it doesn’t get folded under and overlapped into the quilting on the back of the quilt. This will mean needing to rip stitches out and resew, and that is annoying. Trust me, I speak from experience!
Happy quilting! Next time we will talk about the last part: binding your quilt. Then you’ll be finished!
Amazon and the Amazon logo are trademarks of Amazon.com, Inc, or its affiliates.