As an Amazon Associate I earn from qualifying purchases. This doesn't cost you anything, and I only recommend products that I totally love!
Binding your T-shirt quilt
Hooray! You made it to the last part of sewing a t-shirt quilt! Today we’re talking about how to bind your quilt so you have a nice clean border all the way around. If you’re just finding this blog about how to sew a t-shirt quilt, be sure to check out the others. Post 1 was about planning, post 2 was about preparing your shirts, and post 3 was about sewing your shirts together. In our last post, we quilted our layers together. Now all we have to do is finish up!

When binding your quilt, you have two options. You can use bias tape to sew around the border, or you can also use your backing to wrap around and on to the top of the quilt (“self-binding”). I’ve done both, and they both look nice – it just depends what you like. If you’re going to do self-binding, then you will need at least an inch of your backing fabric all the way around the quilt, in order to have enough to fold over and secure the layers. Let’s get started!
Materials/tools you’ll need:
Sewing machine – I use a Singer Quantum Stylist 9960 and it has been very good to me
Thread – coordinating thread colors since this stitching will be visible on your top and bottom layers
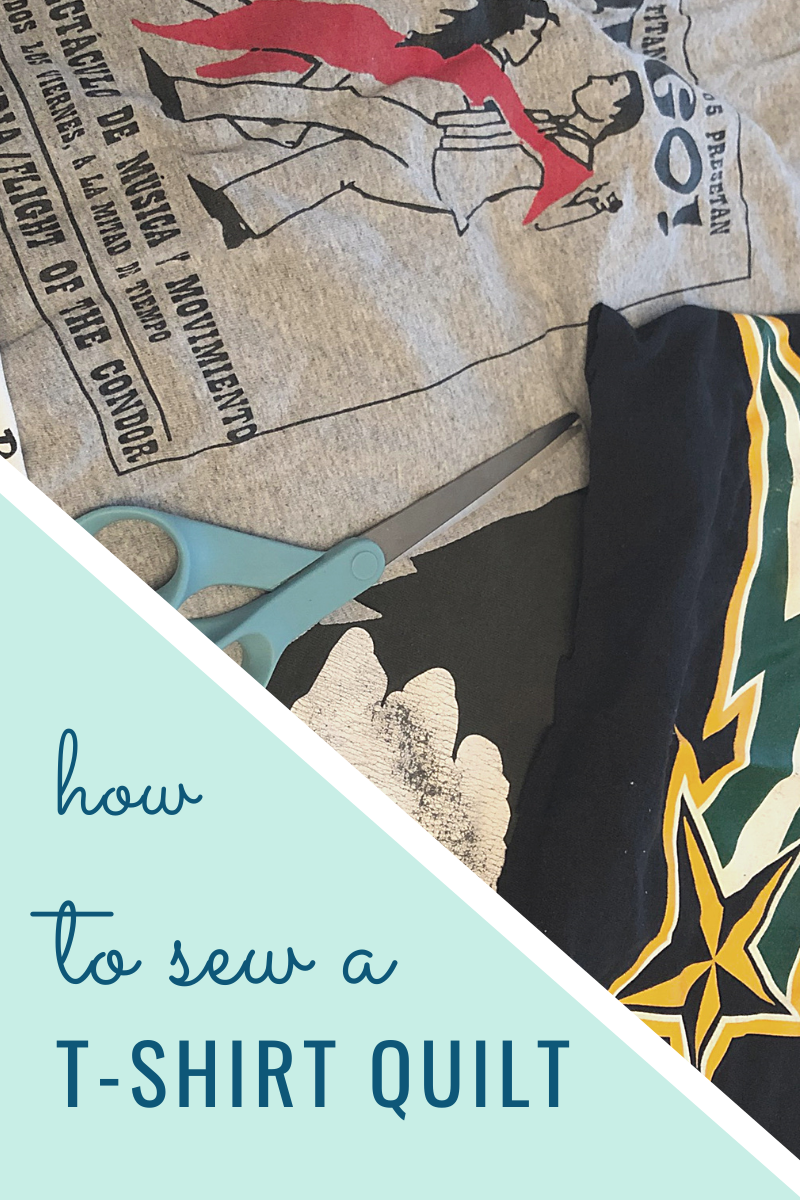
Scissors – good quality fabric scissors help tremendously
Sewing Pins – for holding your shirts in place as you sew them together
Seam Ripper – trust me, at some point in this project you’ll have a seam that needs to be torn out and redone
Quilting Gloves – not totally necessary but very helpful for gripping the fabric as you move it through the machine. I also use clean gardening gloves.
Quilting Squares – extremely helpful for squaring up your corners before binding
Bias tape/quilt binding: in a coordinating color to match your quilt. You can also make your own
Your quilt, ready to bind!
Binding your T-shirt quilt
Step 1: Square corners and make edges flush
Use your quilting squares to make sure your quilt corners are square. Trim the fabric and batting flush and in a straight line so that you’re working with straight edges around the perimeter.
Step 2: Prepare your bias tape or backing fabric
If you’re using bias tape, make sure you have enough to reach around the entire perimeter. If you’re self-binding, iron one side of the backing. Fold the fabric so that the raw edge just meets the top and batting layer. Press/iron it well, so that you have a nice crisp fold.
Step 3: Bind your quilt
Like I said in my last post about quilting, I’m not an expert so I’m not going to go into detailed instructions. I will link you to directions that I have personally found VERY helpful while I was making mine. Here are directions on binding with bias tape, and here are directions on self-binding.

Step 4: Enjoy
No seriously – you worked really hard to sew a whole t-shirt quilt – congratulations! Brag about it! Celebrate! Post a picture – I’d love to see what you made!
Amazon and the Amazon logo are trademarks of Amazon.com, Inc, or its affiliates.